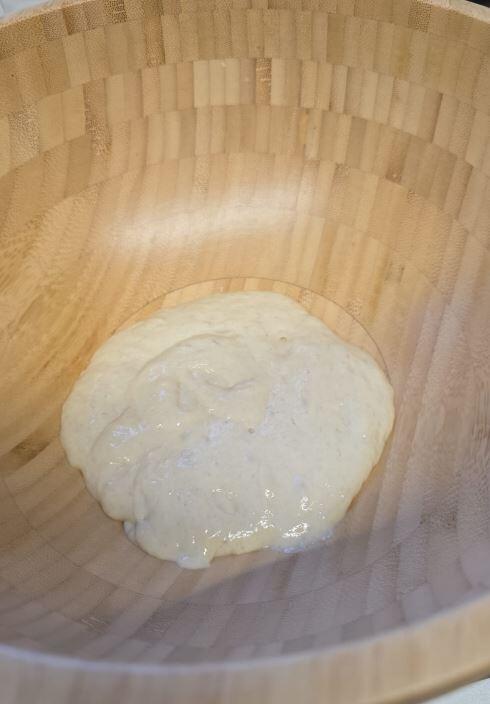
Foarte multumita de maia.S-a activat foarte usor. Acum astept sa vad si painea cum va iesi
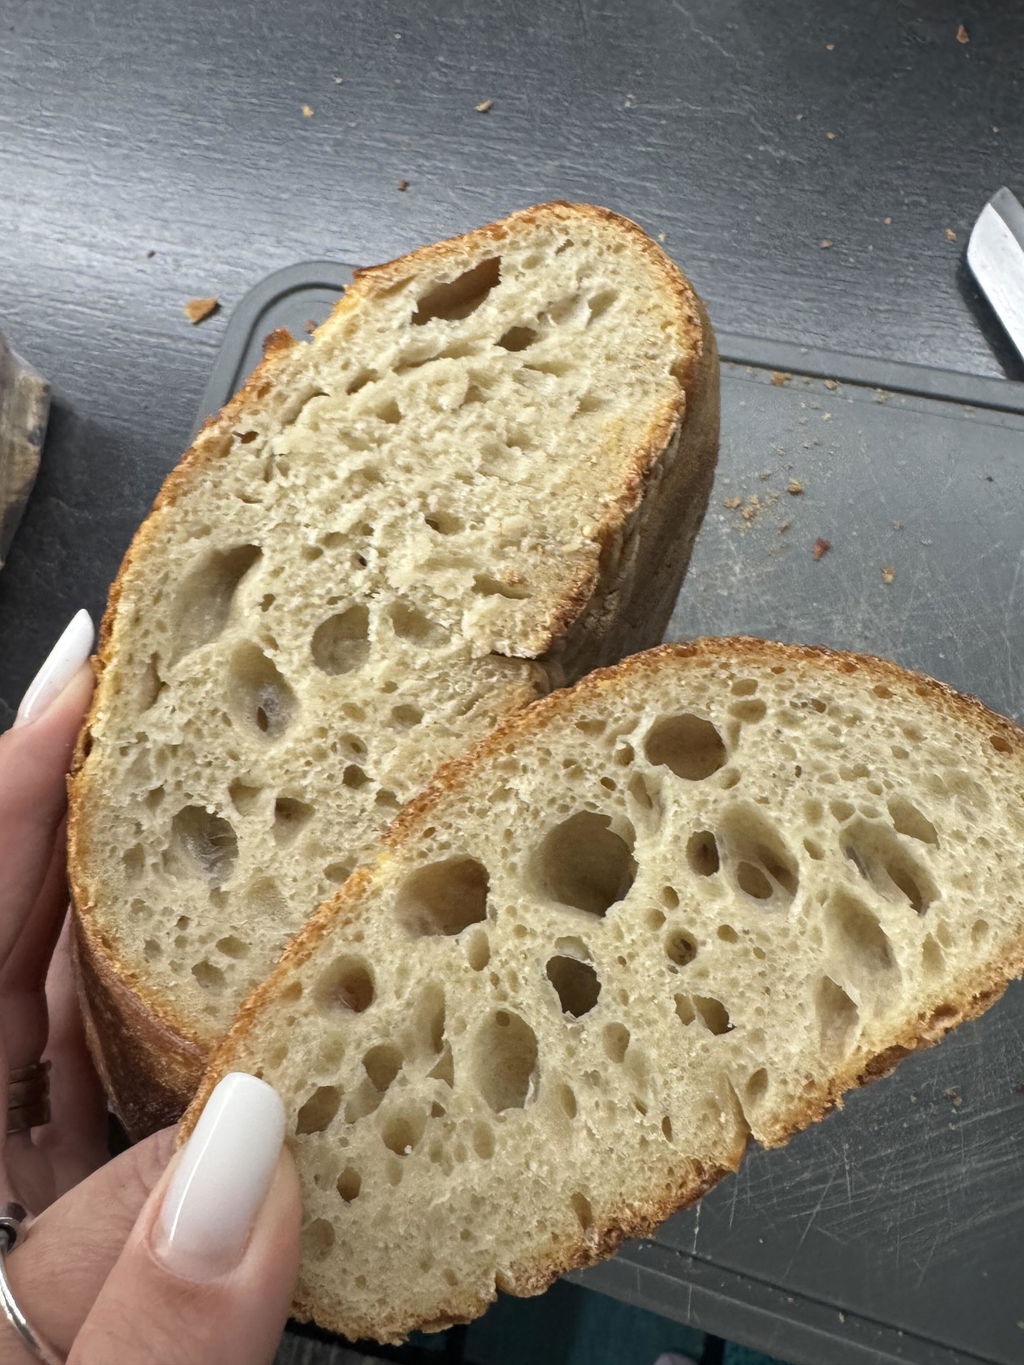
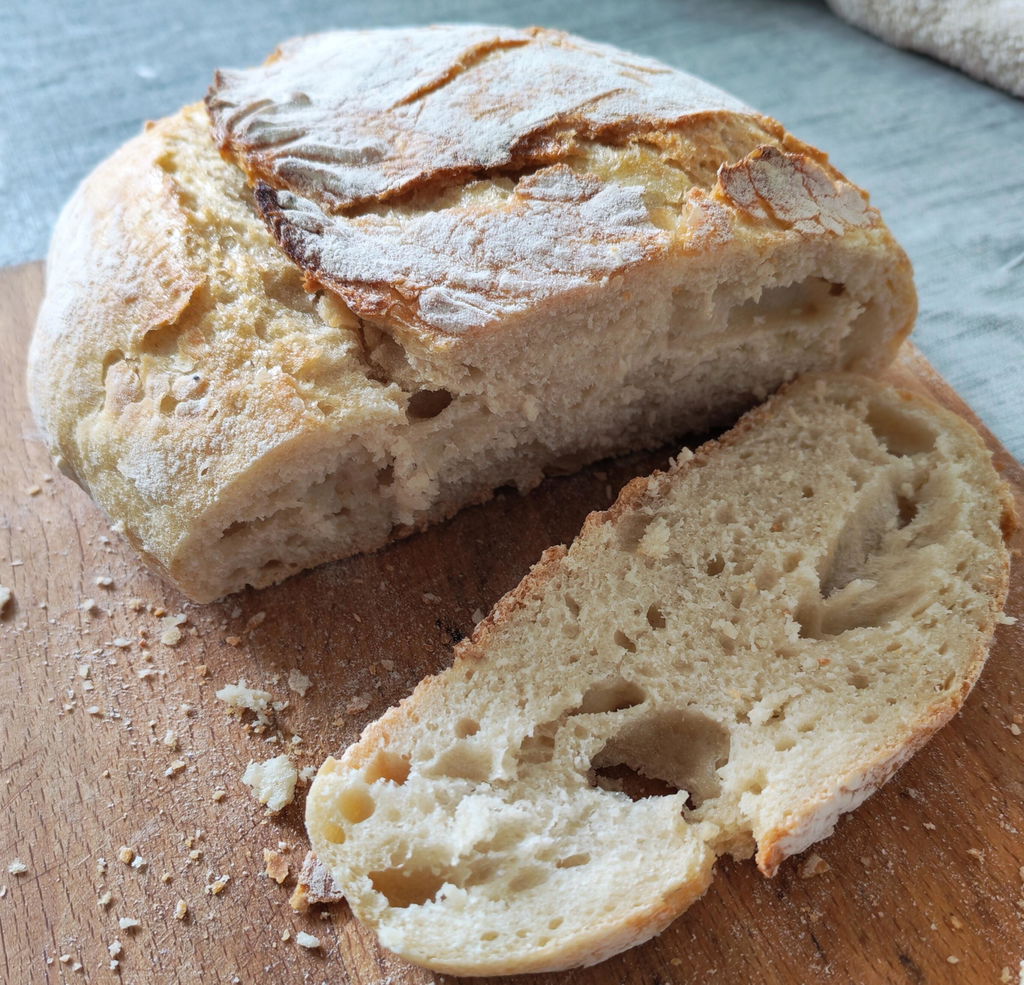
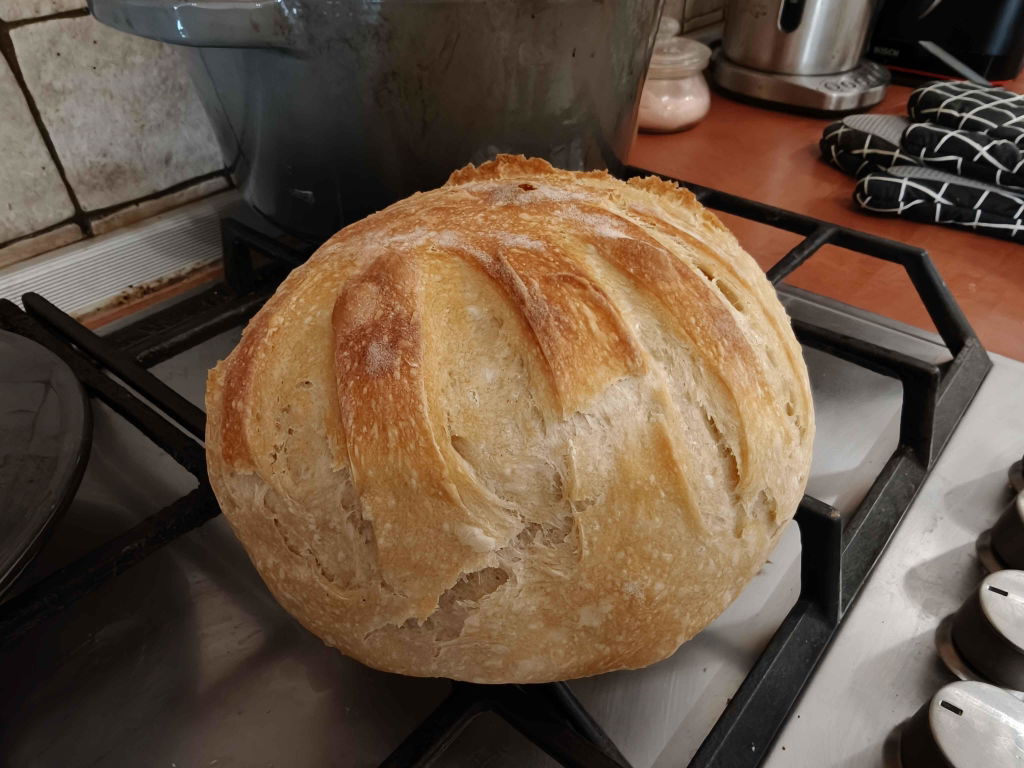
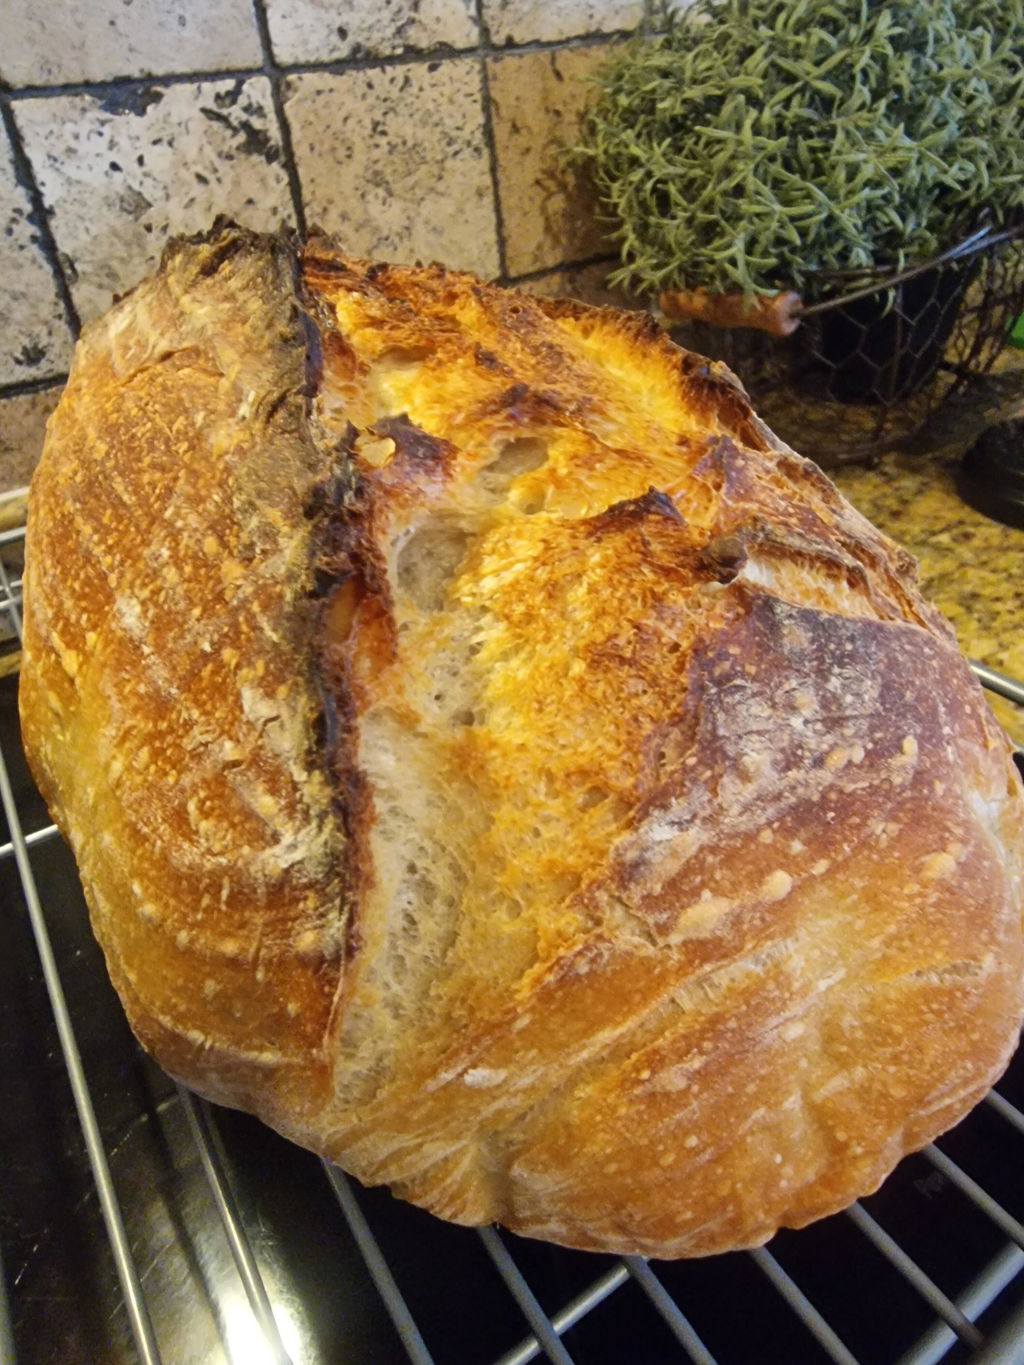
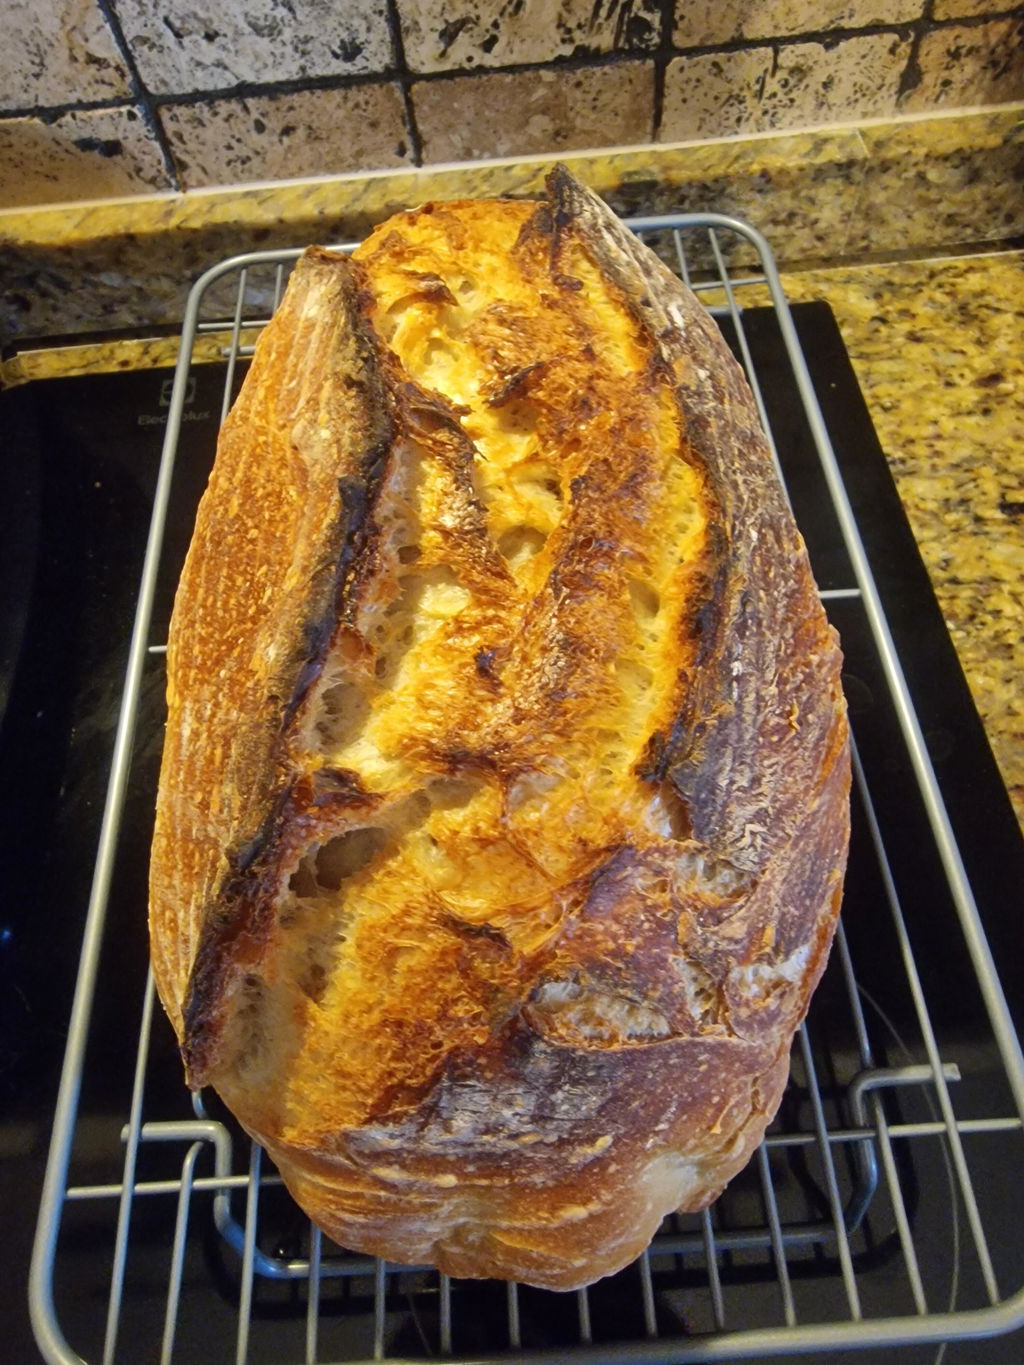
Minunata maiaua! Am urmat instrucțiunile si a 4- a zi am copt prima paine, extrem de buna!
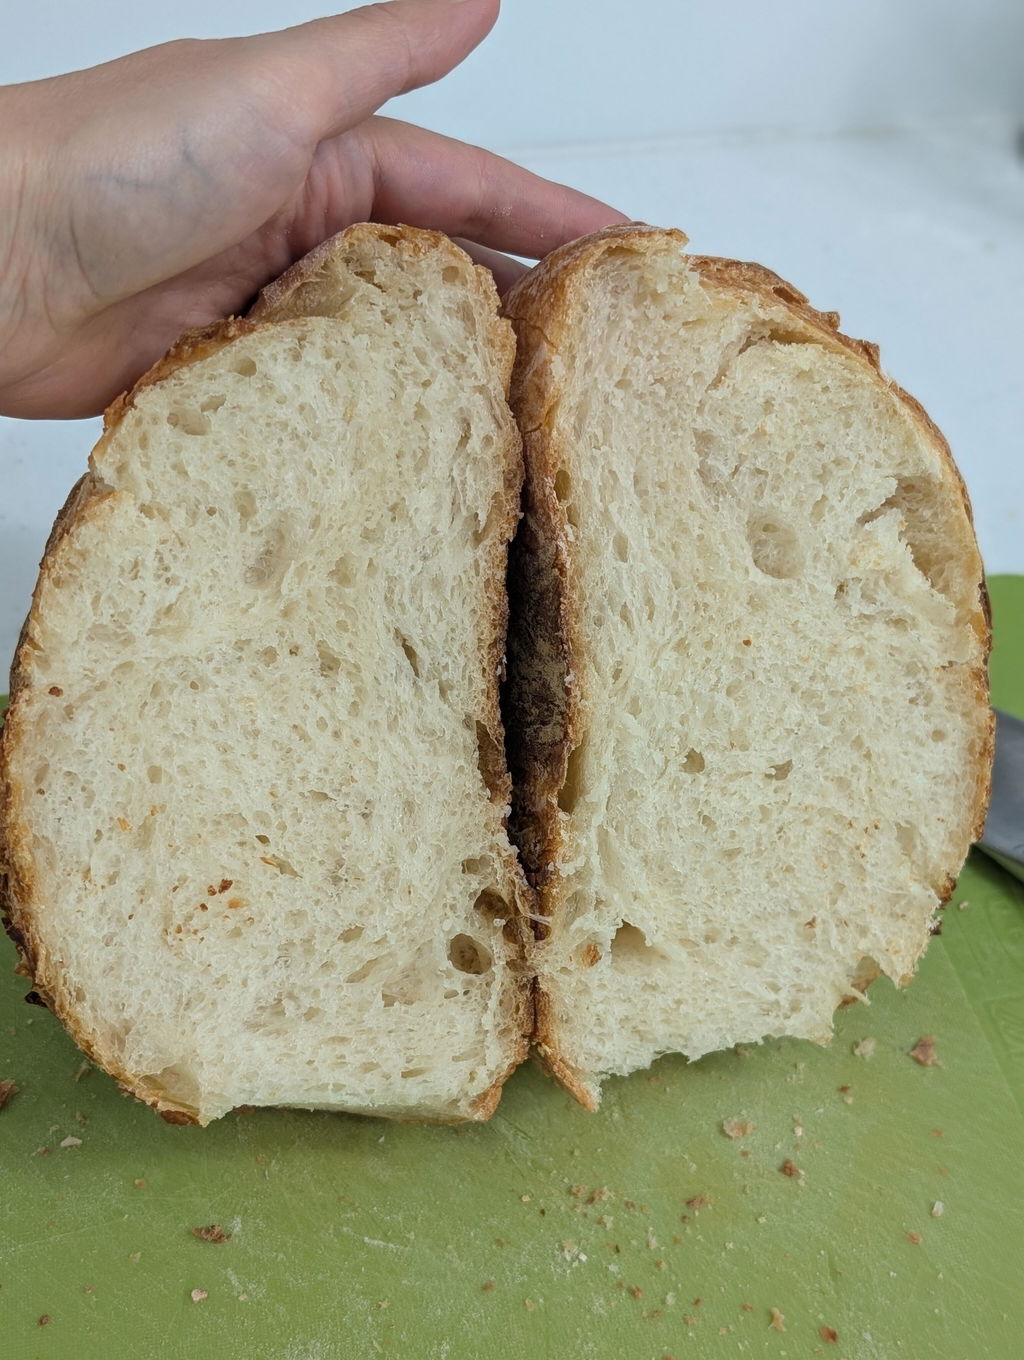
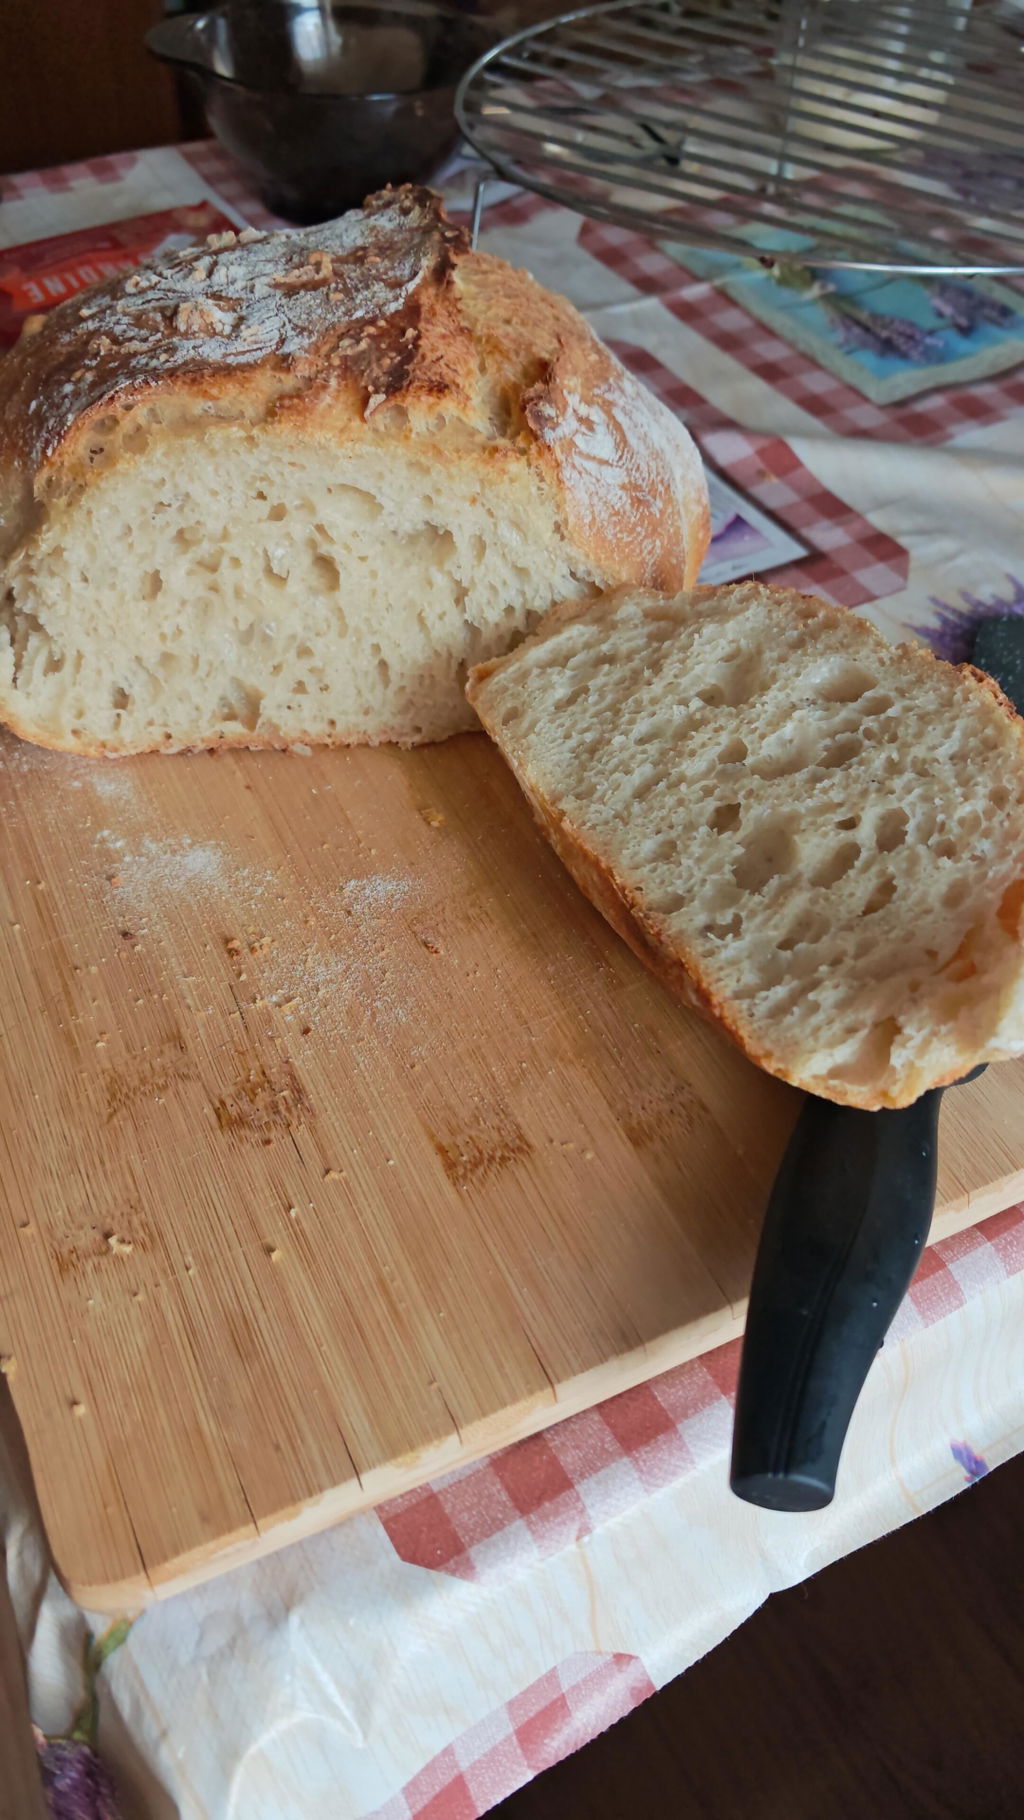
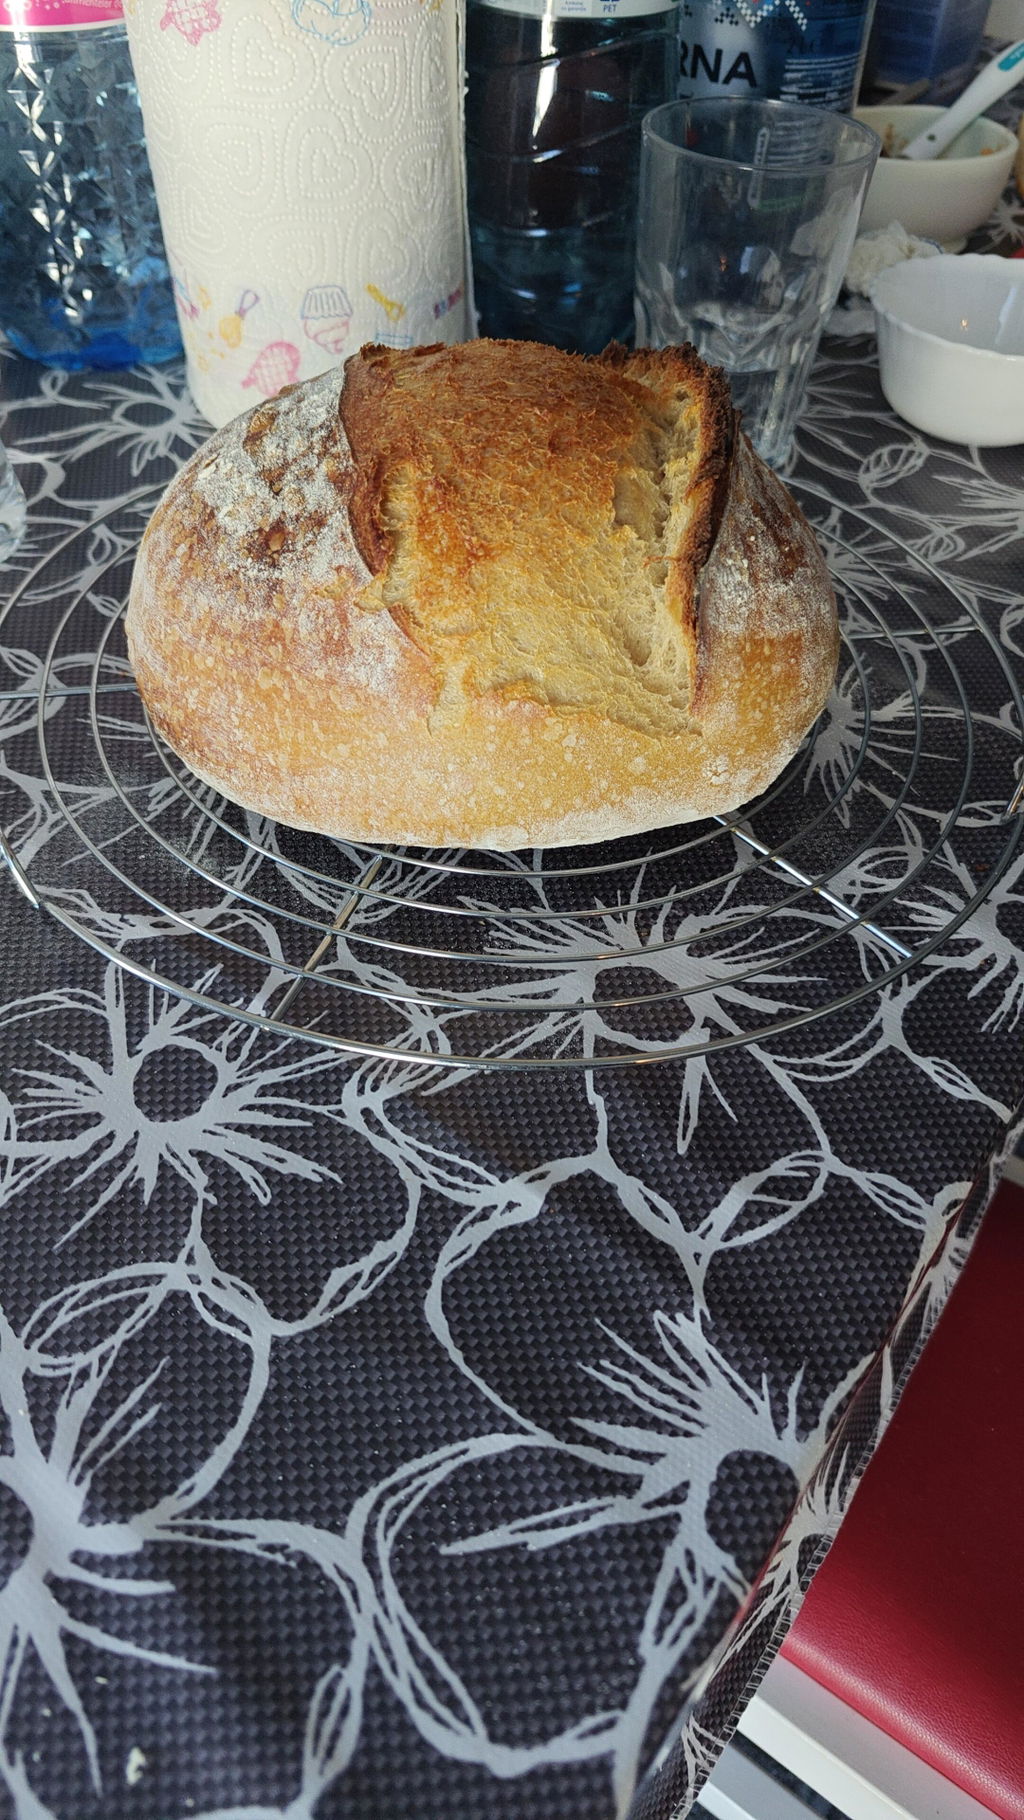
Dupa 2 luni in care am incercat fara succes sa cresc propria maia, am hotarat sa incerc una deja matura si gata de a face treaba, si nu imi pare rau!!
Multumiri sincere!
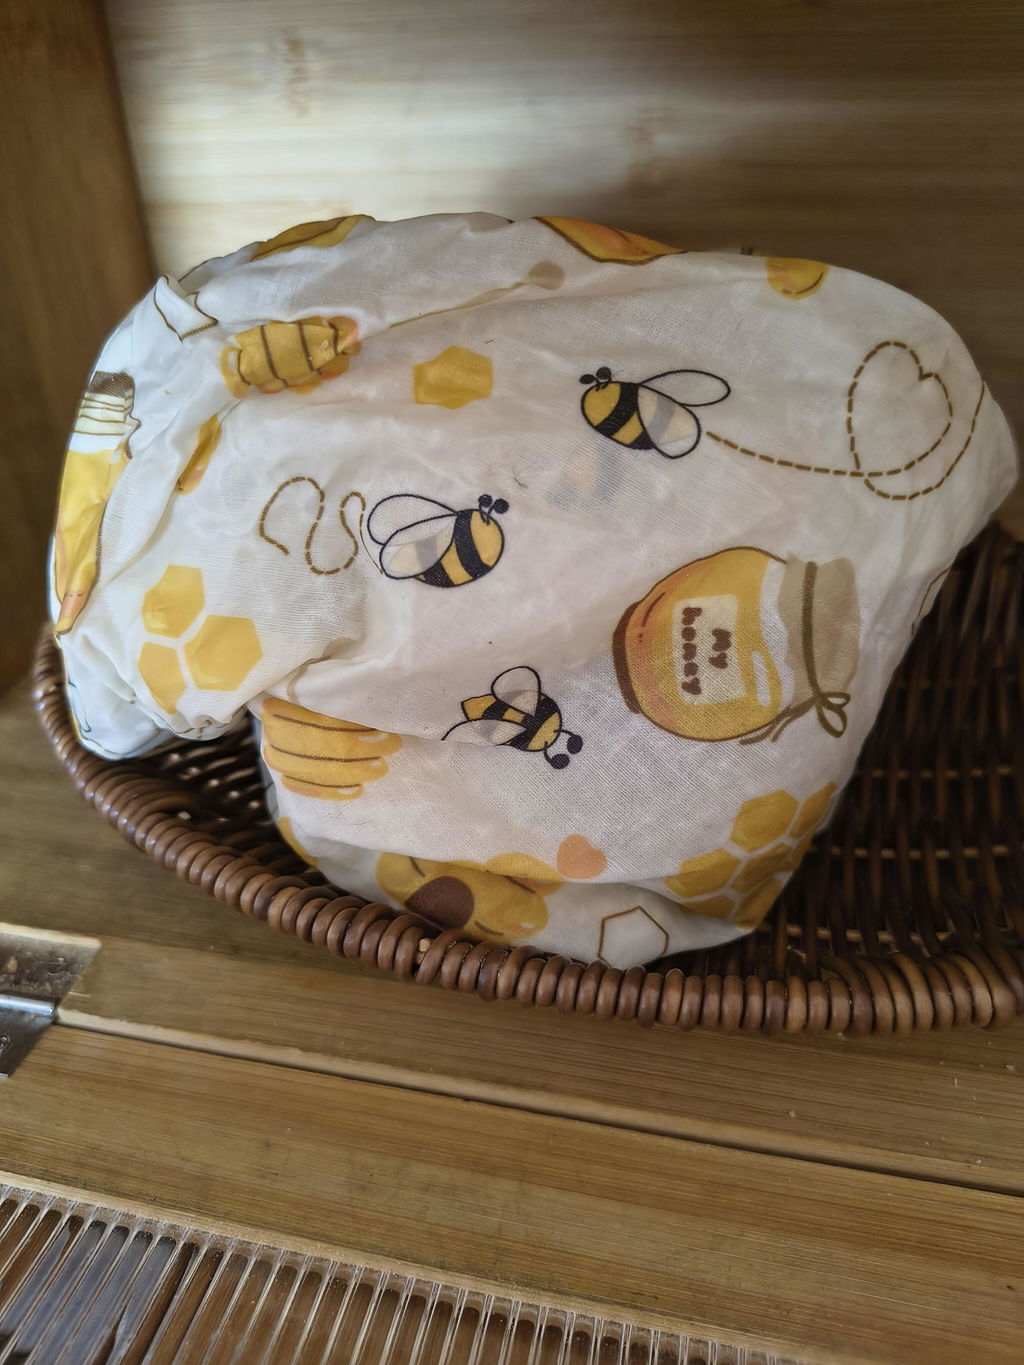
Foarte util,maleabil și împiedică uscarea pâini.
S-a activat ușor și rapid. Crește zilnic foarte bine, iar pâinea a ieșit foarte bună!
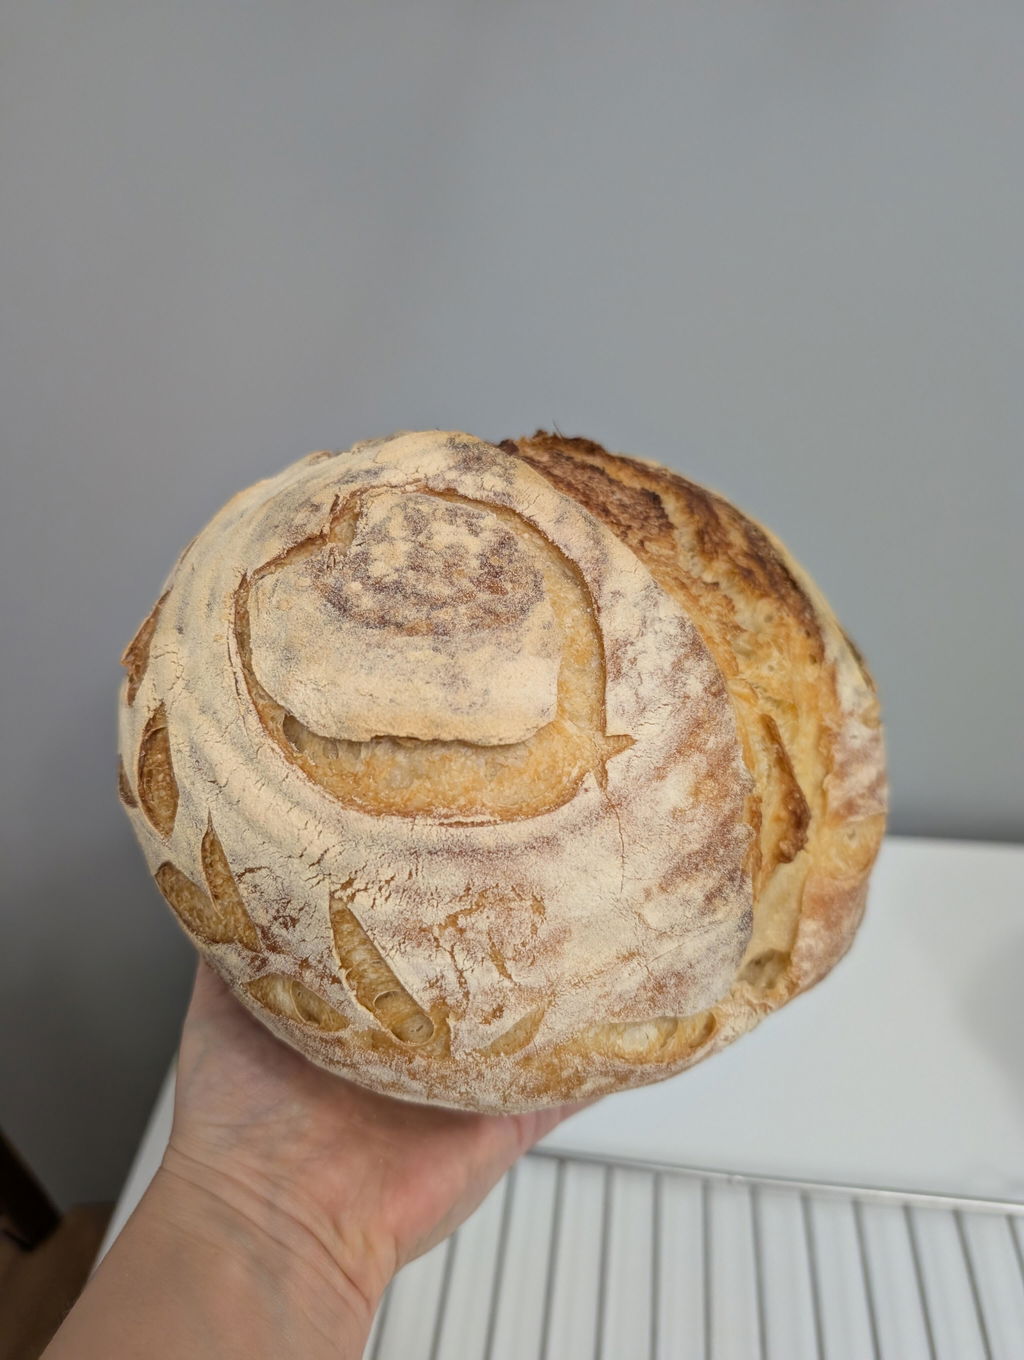
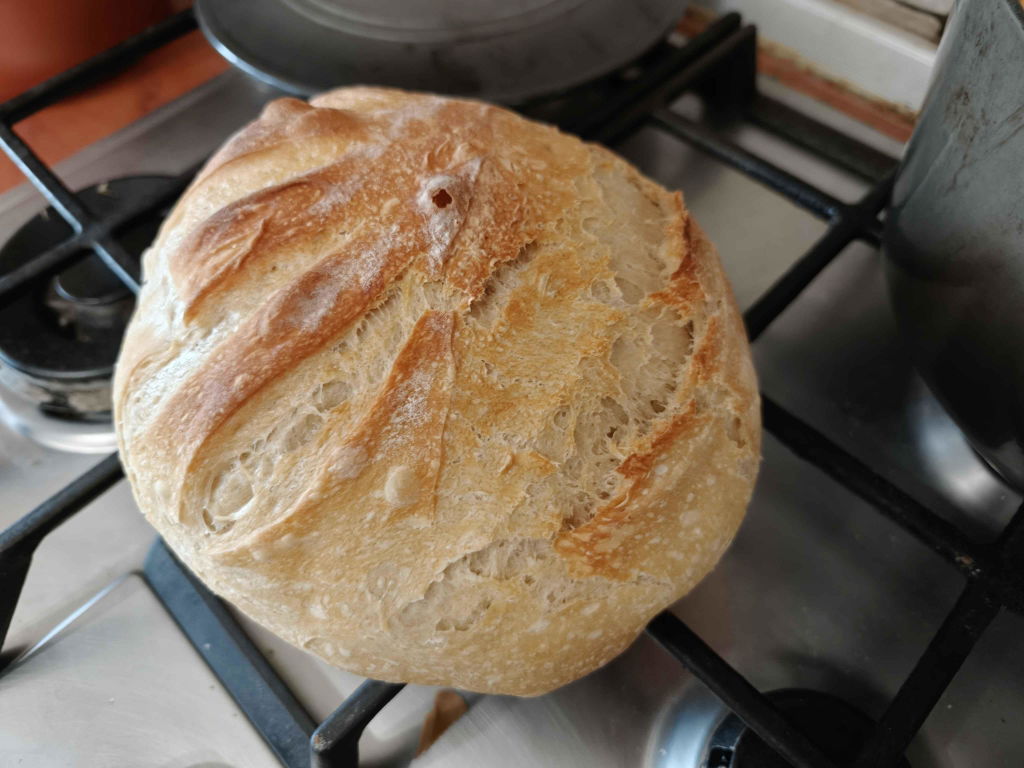
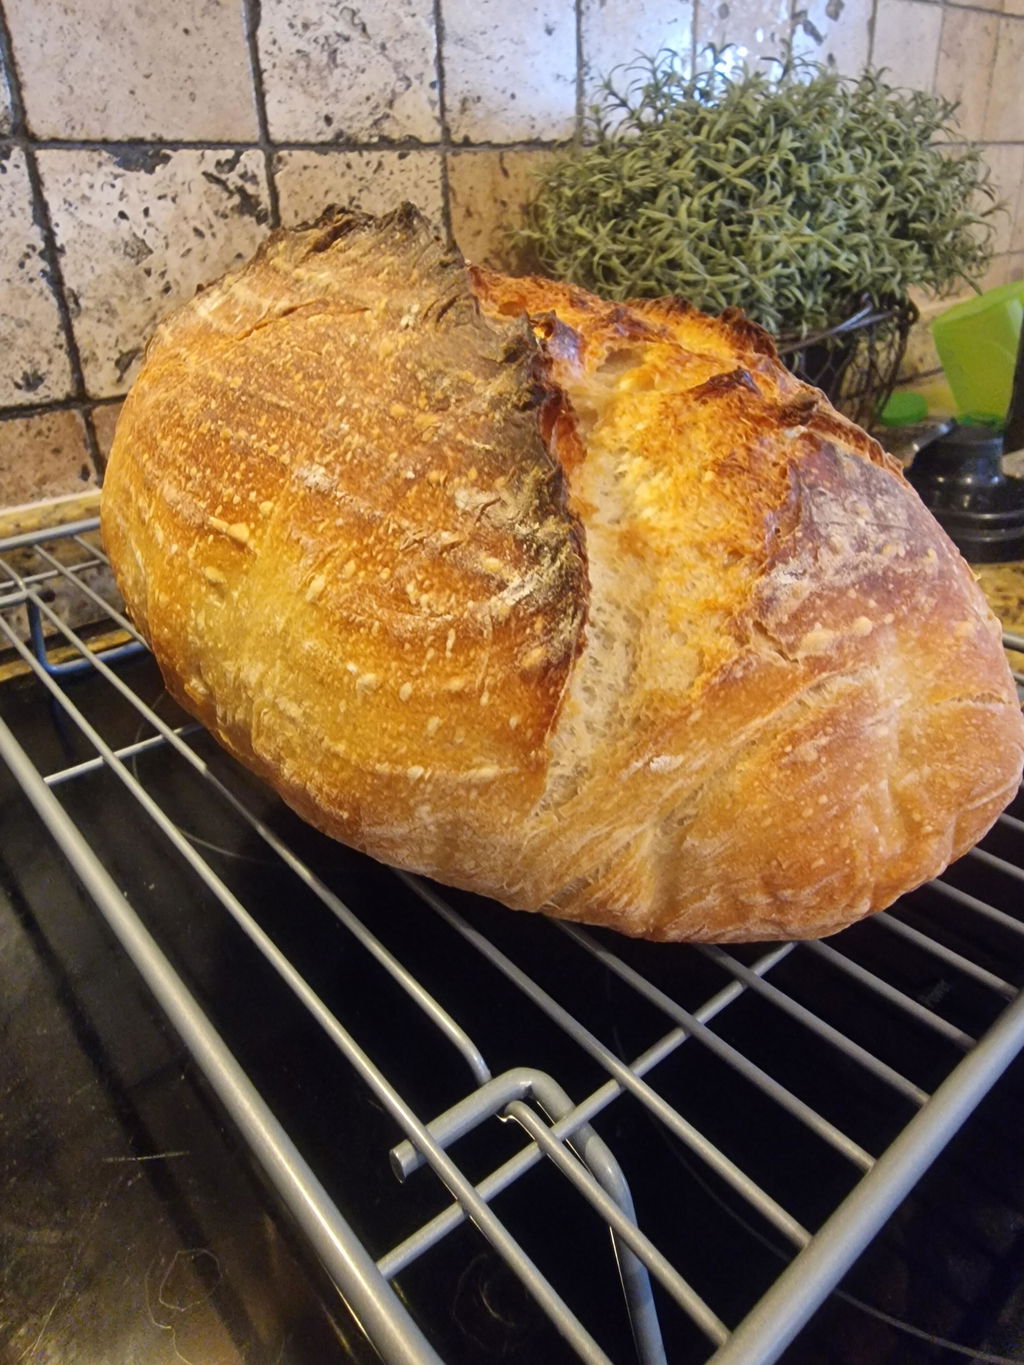
Foarte bună, am urmat instrucțiunile si am reusit desi nu prea eram sigură 😊
Maiaua este excelenta, si daca sunt intrebari, cei de aici raspund imediat.
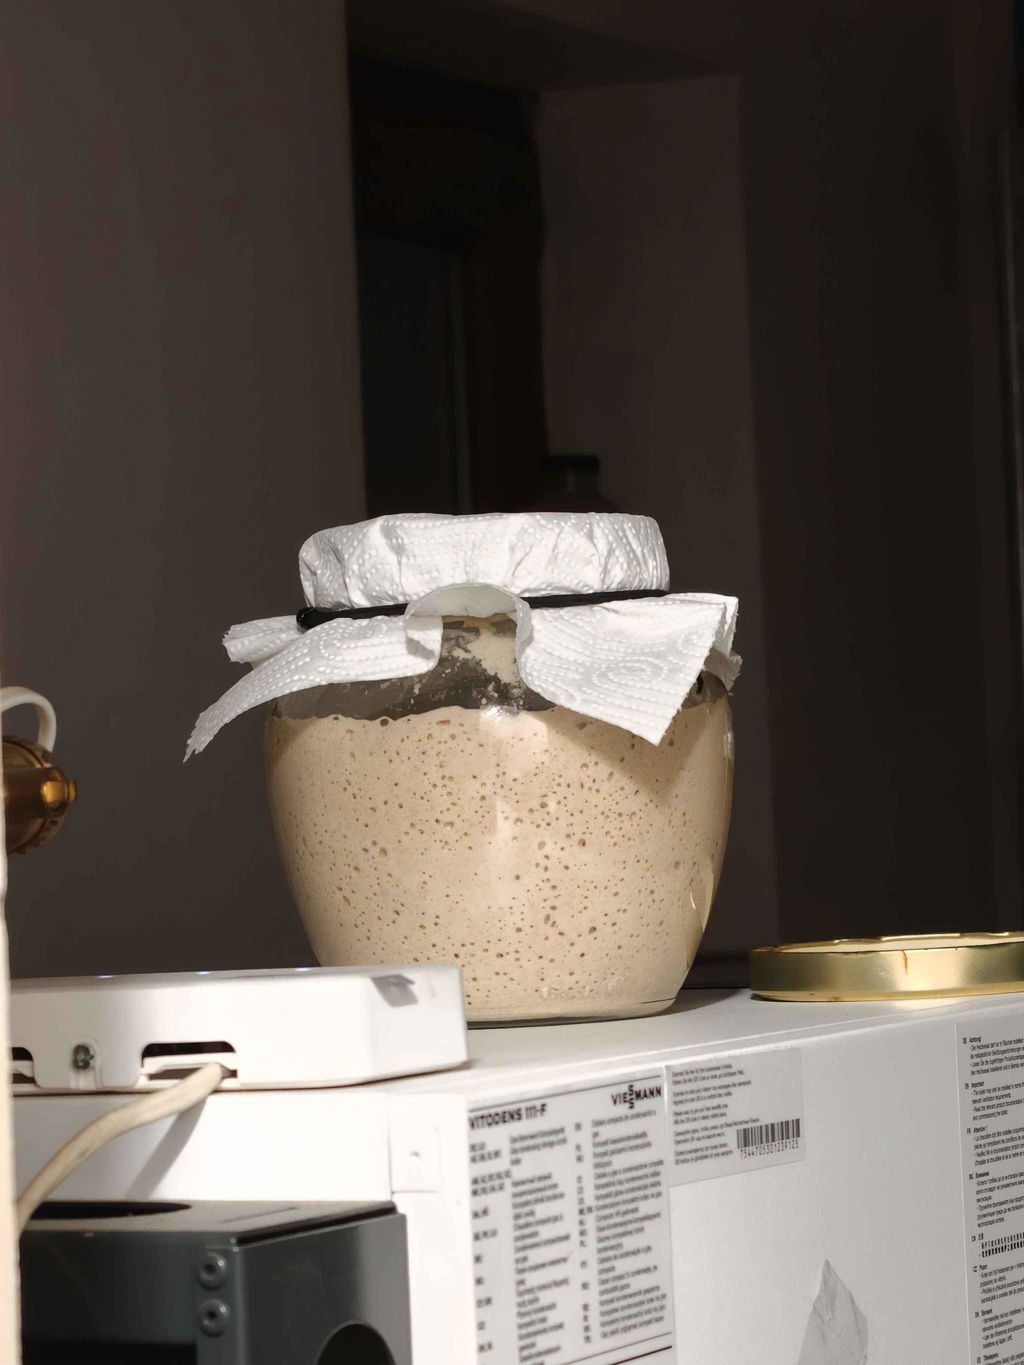
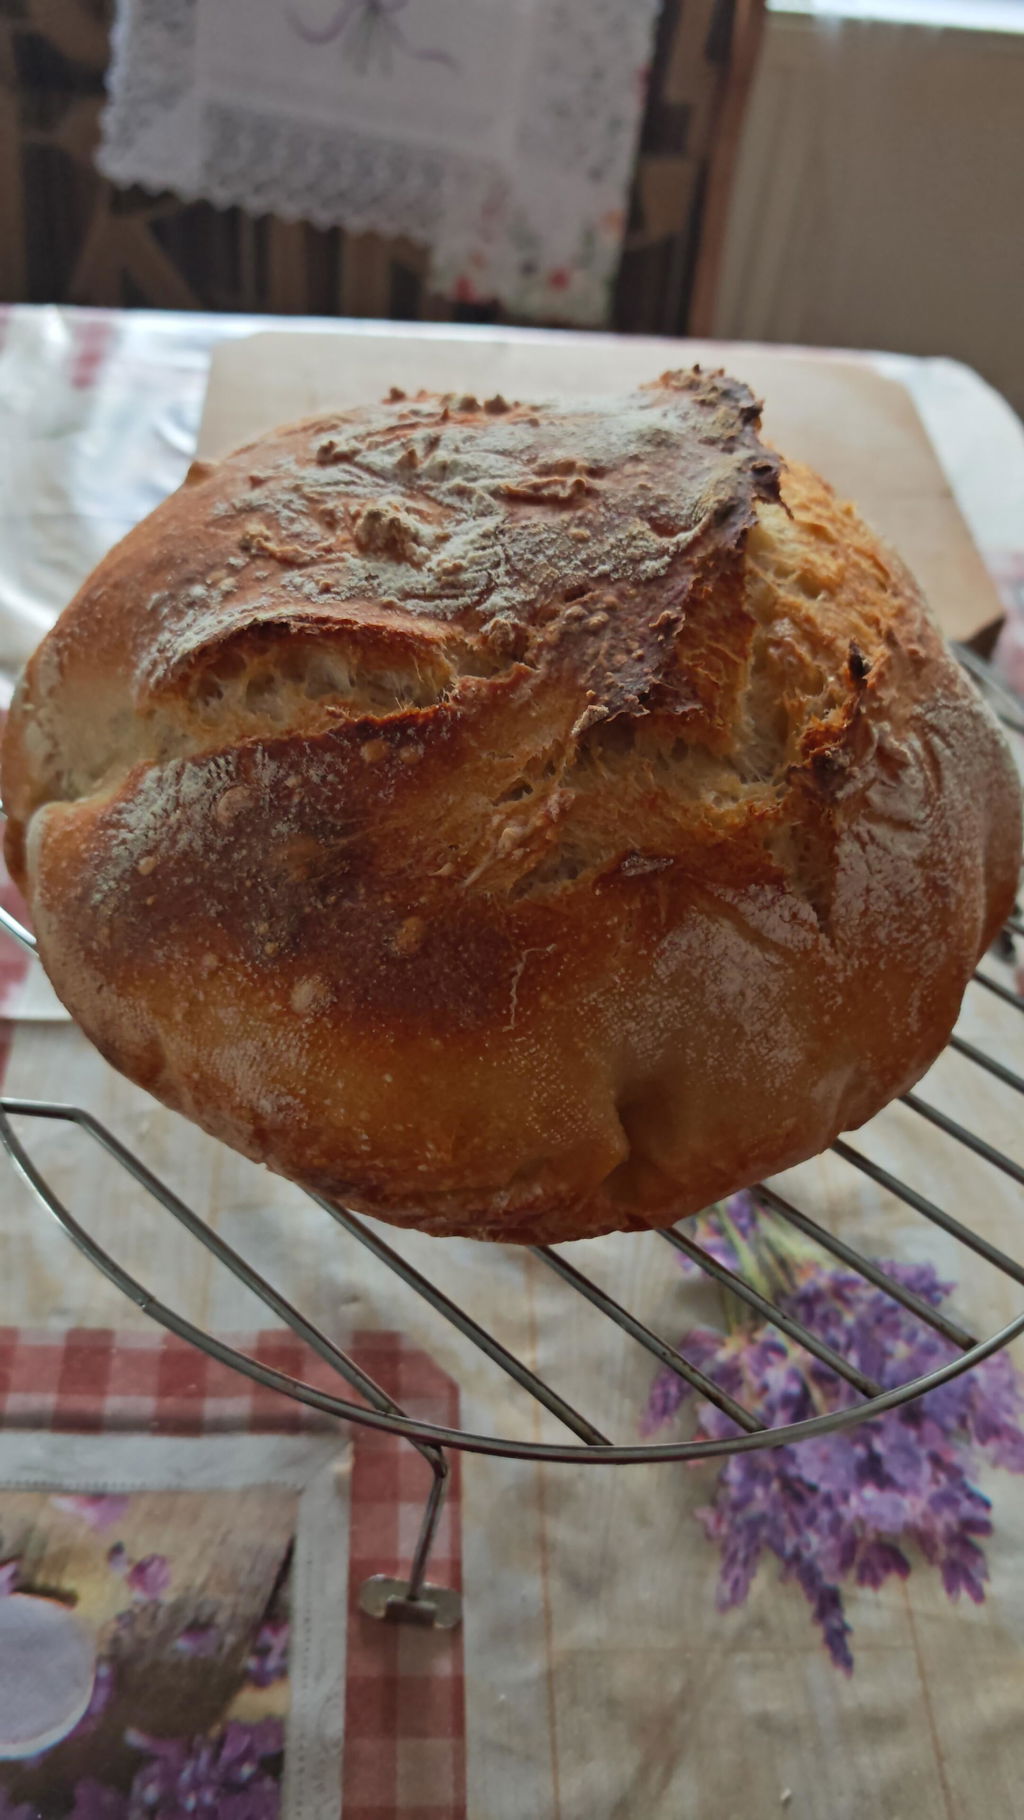
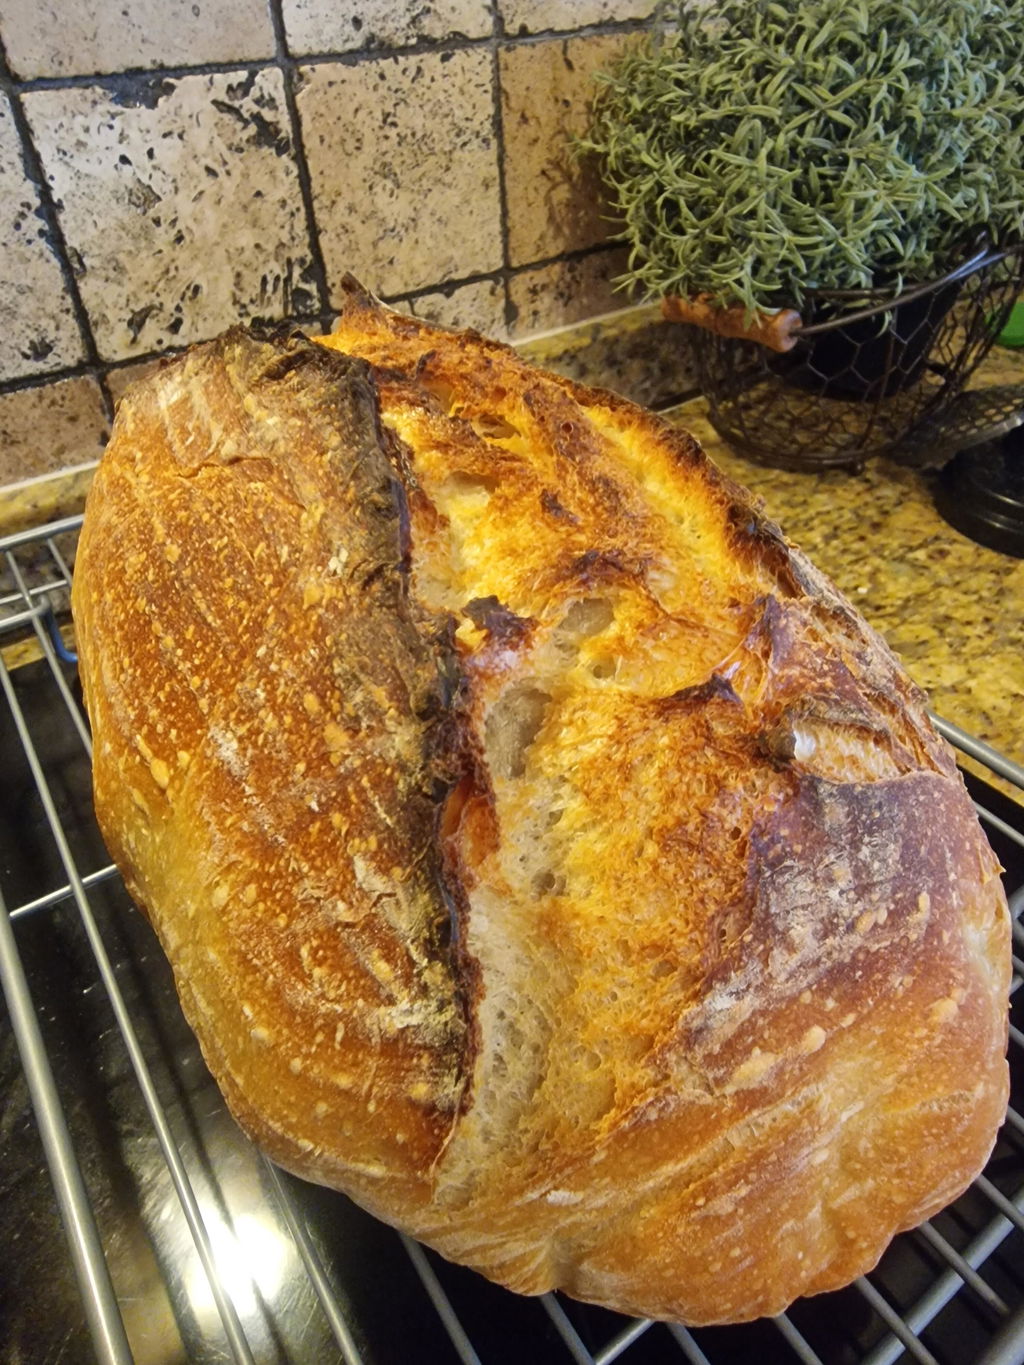
Încă din a doua zi maiaua avea o putere fantastică.Am copt cu ea inca din a 3-a zi. In 6 ore era la pmc hrănita 1:2:2
Am achiziționat kitul pentru pâine artizanală și am fost plăcut surprinsă de grija cu care a fost ambalat. Produsele sunt de calitate și le recomand celor care doresc să facă pâine în casă.

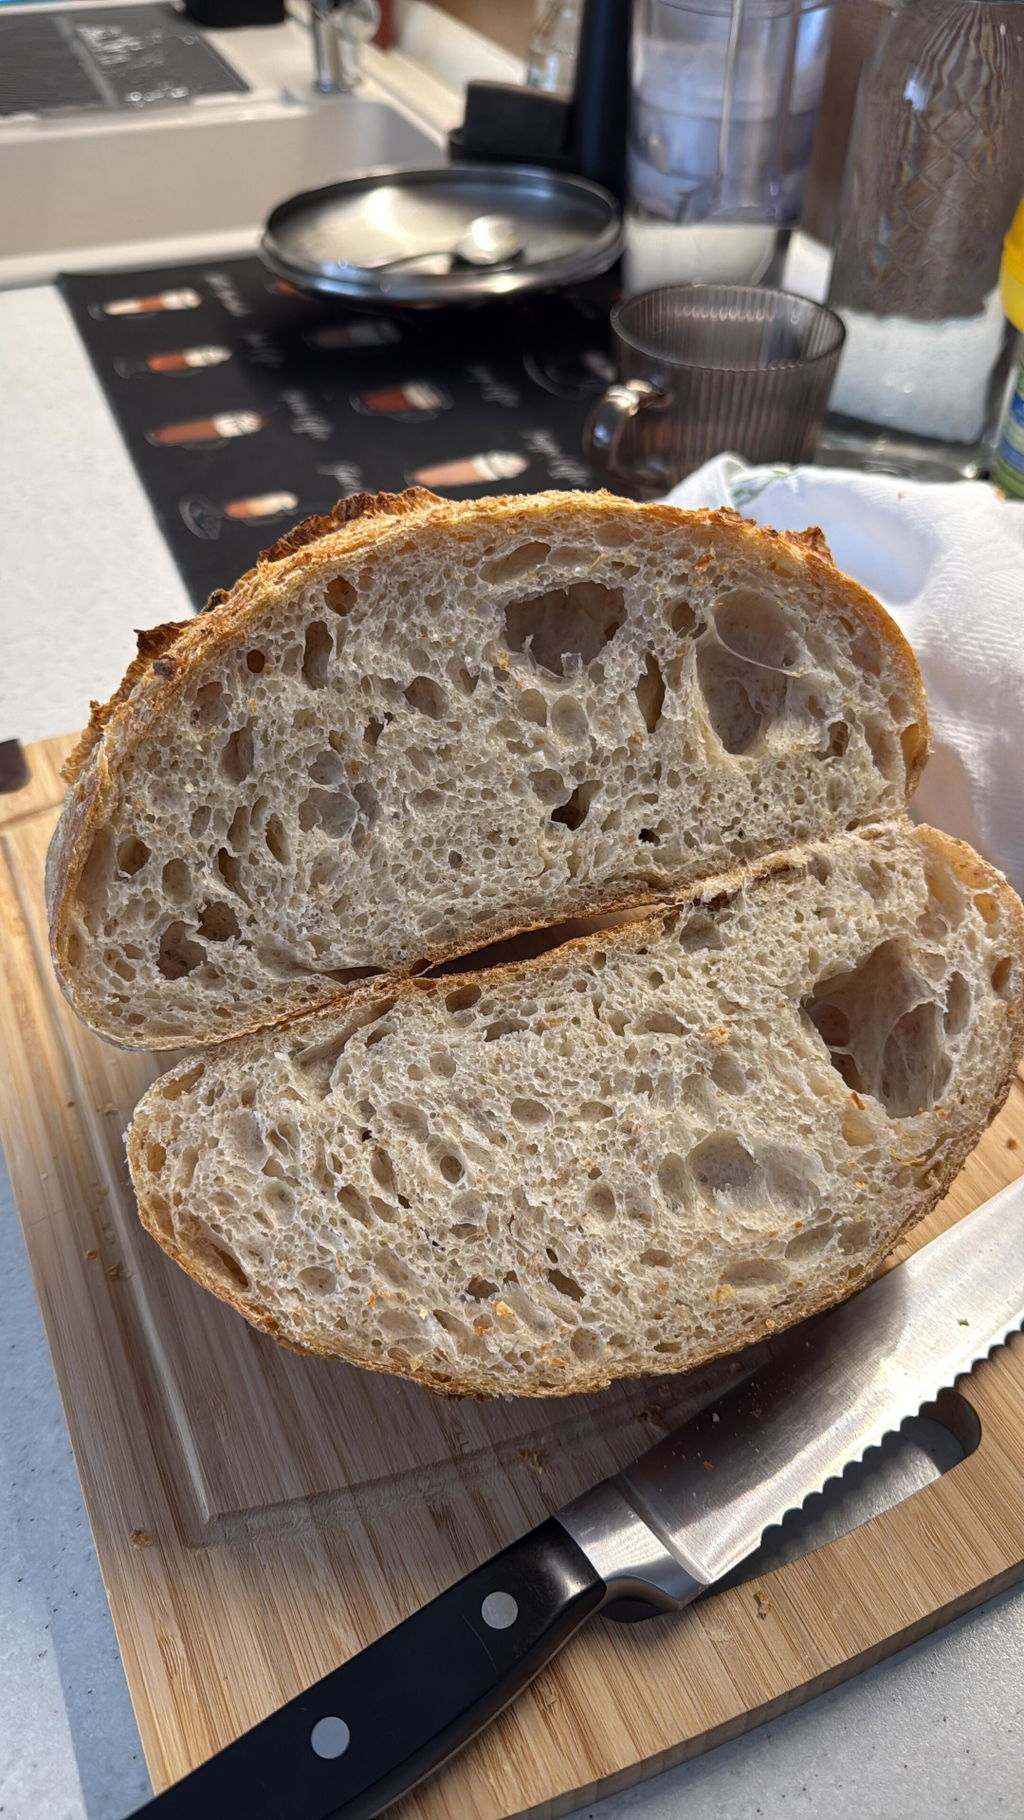
Maiaua s-a activat foarte bine, painea a iesit excelenta.
Dupa multa straduinta, n-am reusit sa obtin o maia care sa ma satisfaca.
Cu aceasta a fost simplu ca buna ziua.
Recomandarile pentru cantitati la hranire sunt foarte mari, compozitie multa la gunoi. Aici trebuie refacut acel retetar deutilizare/hranire.
In rest, recomand!